Calvatia gigantea mushrooms they are not, but they are a parade of freshly made paperweights. These are *porcelain, and I thought you might be interested to see how such things grow on the potter's wheel, so I took some photos this afternoon as I made one.
I did not weigh the paperweights as I made them, but I checked afterwards, and they range from just over 200 g to 400 g (0.44 lb - 0.88 lb).
I slapped a ball of porcelain onto the wheel and formed it into a cone shape several times to centre it and to make it more supple and even in consistency.
I do use two hands for this job, but have removed my right hand to reveal what is going on (and to take the photo!).
To centre such a small amount of clay, I squeeze the clay to form a cone shape, then I push forward steadily with the ball of my left thumb. Note that it is best to push forward rather than down.
I find that the clay comes down all by itself when pushed forward and centres beautifully with little effort on my part.
Centred, the lump is now running true with no wobbles! Do not be satisfied with poorly centred clay. If it wobbles it is not centred. If you can't centre it, then be brave, learn the knack! **You can do it!
I open out the lump with my thumbs, and maintain a bowl shape as I thin the clay and begin to lift the walls.
I bring in the top of the bowl slightly, as I want it to come inwards later on rather than flare out.
I thin the walls, lifting them higher. I try to maintain a good thickness of clay at the rim, because this will be of great help later as I pull the rim inwards.
The bowl is now much wider and a little shorter (it happens to us all as we get old!). A sponge held in the right hand may be useful to help persuade the porcelain to turn inward. Sometimes fingers or solid wooden or rubber ribs can be too firm for this.
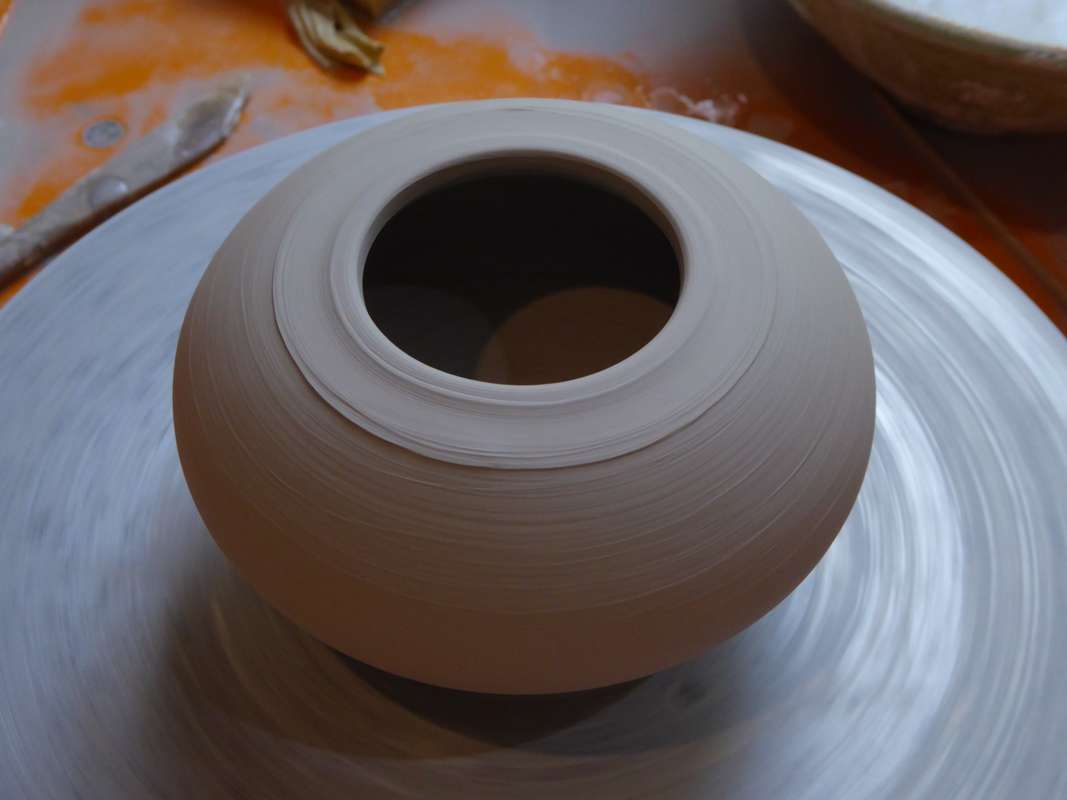
I pull the rim in further and flatten an area. This will later form the base of the paperweight.
With the wheel turning slowly I dry off the paperweight with a hot air gun.
A slight change of colour, and most of the floppiness of the porcelain is gone.
I turn the bowl over then start to trim off the excess clay.
I begin with a metal turning tool, but later change to a loop tool.
Nearing final shape I occasionally test for thickness by gently pushing at the top of the paperweight.
I finish by smoothing with the sponge, then follow this with a soft rubber kidney.
I take the paperweight off the wheel head, flip it over and check the bottom. Nice and tidy so no more to be done there!
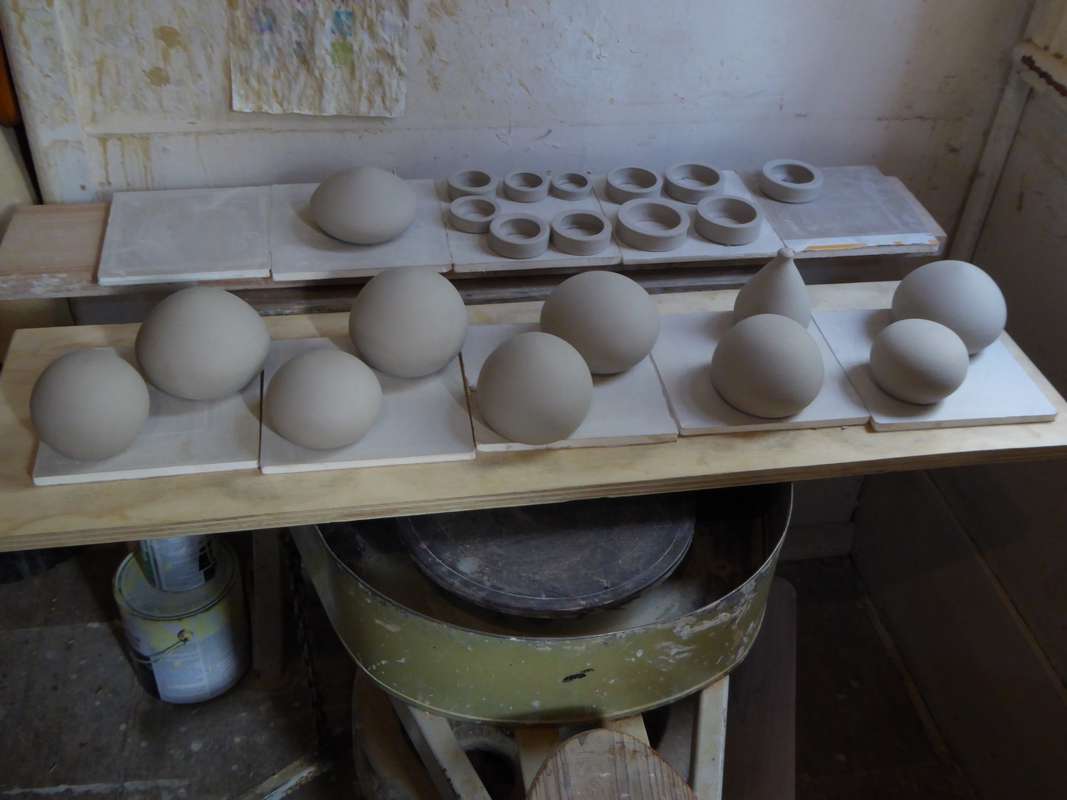
Then take the paperweight to join the others to dry on off-cuts of plaster board.
After making the paperweights I measured the bottom of each one and made a matching ring of clay for them. The paperweights with have crystalline glazes which are very runny at hight temperatures, so they need to stand on a ring of porcelain in the middle of a shallow bowl in which to catch run off glaze.
* Porcelain is usually made from a blend of Kaolin (China Clay), Feldspar, Silica and something to make it workable on the potter's wheel such as a small quantity of bentonite or ball clay. Most Kaolin type clays are difficult to work with unless they are blended with something else. Porcelain fired to maturity will be vitrified, strong and translucent where thin.
**You can do it! In 2012 I posted a short video of centring a large lump of clay, you might like to take a look at it if you want to see how this can be done
http://opopots.blogspot.co.nz/2012/06/centering-clay-transit-of-venus-and.html


Comments
Good to hear from you. It will be fun to see how they turn out in practice! Nearly dry now, so hope to get them in the kiln for bisque this evening.